In the process of machining, due to various internal factors and external factors, the temperature of the machine tool is constantly changing. The machine tool and its process system are thermally deformed due to temperature changes, thus causing machining errors. According to statistics, in modern machine tools. In the manufacturing error of the workpiece being machined, the error caused by thermal deformation is as high as 50%, which accounts for 40%~70% in precision machining, and the machining error caused by thermal deformation of the machine tool accounts for 25~75%; for the lathe, The main heat source comes from the headstock box. It has a lot of heat and the temperature rises, which causes the deformation of the box and the bed. It causes the thermal displacement and thermal tilt of the spindle, which affects the processing precision of the product. Therefore, this paper takes the CA6140 lathe as the research object, focusing on Discuss the test method of thermal deformation of the spindle head.
1 Simplified problem The main reason that the spindle head affects the machining quality is the inclination of the spindle axis to the bed. The reason for the tilt of the spindle box is that the front and rear tank walls are displaced by the wall surface due to the temperature rise; due to the thickness of the front and rear tank walls It is much smaller than the length and width, and the metal has a relatively fast heat conduction. Therefore, it can be approximated that the temperature in the thickness direction is constant and the temperature is only changed along the length and width directions, thus simplifying the three-dimensional temperature field into a two-dimensional plane temperature field.
The two-dimensional plane, the internal heat source stable temperature field heat conduction equation is: the analytical and numerical calculation methods can be used to solve the temperature field to calculate the thermal deformation. However, we found that in order to accurately reflect the temperature changes of the different positions of the headstock components, the test points usually reach 50 or even 1 (1) points, and the arrangement of the measuring points should reflect the real situation of the temperature field, which often requires the partition wall to be limited. The number of grid cells, and there should be uniform nodes around the spindle hole, and distributed according to the principle of sparseness and internal density; obviously, the test workload is large, and there are many factors of human interference.
The problem can be further simplified in the case where the focus of the research is on the influence of the thermal deformation of the spindle head on the machining accuracy of the workpiece. Firstly, based on the same considerations as when discussing the steady-state temperature field, the three-dimensional thermal displacement problem is simplified to the elastic mechanical plane stress problem; for the case where the front end and the rear end of the lead shaft are not equal after the thermal deformation of the spindle head box, it specifically measures the front end of the shaft. And the amount of increase in the back end, and then according to the remaining relevant parameters, the amount of spindle tilt caused by the thermal deformation of the headstock can be calculated.
2 Test scheme and hardware composition The traditional method of measuring the thermal deformation of the spindle head of the machine tool is to use the instrument to directly read the temperature value and displacement value of the measured point. This method is simple and straightforward, but it takes time and effort, and the measurement accuracy is affected by human factors. Large, low precision, so it is planned to use the microcomputer to perform automatic testing, and to perform data processing, print tables, draw curves, and automatically display test results. The test method draws on the detection method of the radial runout of the center line of the taper hole of the lathe spindle, and the test stick is installed in the spindle taper hole, and two displacement sensors are placed in the horizontal direction and the vertical direction of the near-spindle end and the far-spindle end, respectively. The displacement analog quantity passes through the signal conditioner (mainly low-pass filtering to suppress the high-frequency component of the interference noise signal), and then the analog signal is converted into a digital signal input computer through the data acquisition card, and the microcomputer analyzes the collected data in real time, and finally The analysis results reflecting the thermal deformation of the spindle head of the machine tool are displayed, and the results are displayed on the microcomputer in the form of data or graphs or printed online. The overall block diagram of the test system is shown.
CA6140 headstock inspection rod inspection rod: made of nickel-iron alloy with a small thermal expansion coefficient, installed in the spindle hole of the machine tool.
Displacement sensor: It adopts eddy current sensor, the model is CZF-1000 type, and is equipped with BZF-1 type converter. The displacement value is linearly converted into voltage value output, and its output voltage is 0~10V, so it does not need to be amplified to enter directly. A board; in the figure, 1 and 2 are horizontal eddy current displacement sensors, and 3 and 4 are vertical eddy current displacement sensors. This sensor can overcome the influence of nonlinearity, leakage capacitance and distributed capacitance of the capacitive sensor. Wide, linear range, large, small size, strong anti-interference ability, easy to install and adjust, affected by the environmental temperature of the weekly printer data acquisition card, can not generate environmental filter, water quality and other media can generate a filter curve, it Suitable for the processing of periodic data. Figure influence.
Data acquisition card: It adopts PCL data acquisition card of Advantech of Taiwan, which is 8-channel 12-bit AD1 12-bit DA16 digital input and 16 digital output, and provides multi-way switch and relay control, etc. Functional and extended feature requirements.
3 software system design This test software adopts VisualBasic6.0 as the main control program and interface multi-language mixed programming method and modular design idea, which makes the program structure clear, each module completes an independent function, which is convenient for system function expansion. And maintenance. According to its implementation functions, it mainly includes modules such as initialization module, main control module, data acquisition, data processing, display and other auxiliary functions. The block diagram of the software system is shown in the figure.
The human-computer interaction interface is compiled and used as the main control program of the test software to complete the system initialization settings, call other function modules, human-computer interaction, alarm and other auxiliary functions, and is responsible for the whole system monitoring and software system module function diagram management.
Considering that VB does not have a function to directly access the hardware IO address, in order to realize dynamic data acquisition and processing, the DLL function for hardware port access is compiled with VC 5.0, and then called by the VB main program, thereby realizing access to 1 port and Control, not only can retain the flexibility and fastness of the VB design interface, but also can play the DLL in 3 is a graphical display of the curve obtained by the differential filtering method to obtain the curve is called by VB. (shown as the fourth channel) Example of the generation of the filter curve B. Generation of the polynomial curve: MATLAB uses the polyfit and poyval functions to perform polynomial fitting on the acquired data and uses polynomial regression processing; the selection of the fitting times should be considered. Goodness of fit and numerical characteristics should not be too high or too low. The appropriate number of times should be selected according to the actual situation. It is an example of a graphic display in which the quad-fitting curve is called by VB.
The generation of the quadratic fitting curve shows the advantage of sharing the code and resources among multiple applications in the Windows environment, thereby improving the efficiency of operation.
Data smoothing: Due to the existence of random interference, the curve drawn by sampling discrete data is often not smooth in the form of polyline, which indicates that the high-frequency components in the sampled data are rich, and the smoothness of the curve is improved in order to reduce the influence of interference. The sampled data needs to be smoothed; in the software, the collected data is smoothed by five points and three times using the principle of least squares, and then the corresponding curve is generated by digital filtering.
6.0 Data Processing: MATLAB is the most influential and dynamic data processing analysis and calculation software in the world, with powerful visualization and convenient interface with other language programs. In this software development, make full use of MATIAB Powerful numerical analysis and graphic display capabilities, as well as the advantages of VB's excellent human-computer interaction, together to achieve data processing and display.
There are many methods, the most commonly used is the use of MATIAB's dynamic data exchange service function and MATLAB's ActiveX automation service function; this article uses ActiveX protocol to successfully achieve the purpose of seamlessly using MATLAB function inside VB, it is to use the clipboard As a transfer station, put the curve generated by MATLAB on the clipboard, and then use the function to call the image on the clipboard.
Using VB for data processing: VB itself also has strong data processing capabilities. In order to compare with the curve generated by MATLAB in real time, the system uses VB to generate the shell spline curve and uses it as the default state.
(4) The data collected and processed by the function modules such as display, storage and printing of the data, the generated graphics and the like can be displayed in real time, and the historical data can also be retrieved in the search area, and there are four groups in the search area. The text box and the four DATA controls are respectively connected to four databases for searching the data of the four channels. The database is built by Access; thus, it is convenient to check at any time (turning to page 181) The smoothing of the data is performed on the left and right slides of the machine. The solenoid valve YV1 and the solenoid valve are controlled by the stroke switches SQ1 ~ SQ8. During the spindle feed and retract, the gears are distributed throughout. The iron collides with the corresponding travel switch, and the corresponding action command is issued. The action of each solenoid valve is as shown in Table 2. The left-hand step is right-handed. The lubrication is fast-forward and retracted. In-situ lubrication is based on the action table of the solenoid valve. When the cycle is automatic, the shift register is utilized. The shift function enables step sequence control so that each step moves in strict order. When manually adjusting, each drive device is directly jogged by the relevant button according to the action requirement. The ladder diagram for the left slide is as shown.
3 Conclusion After the system has been modified, it works well. After the PIC, the line is simple, the maintenance is convenient, and the failure rate is greatly reduced by the operators and maintenance workers. In addition, when the process program is changed, it is only necessary to modify the program to adapt to the new processing requirements and contribute to the development of the enterprise.
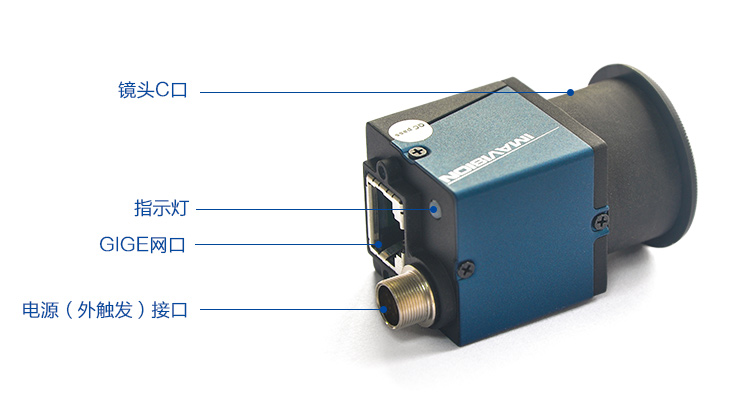
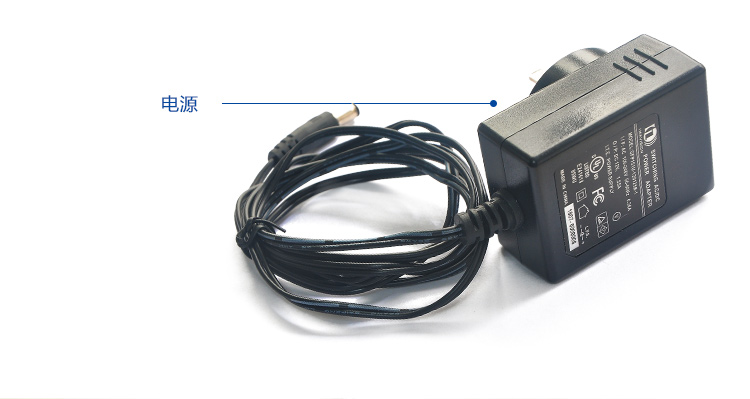
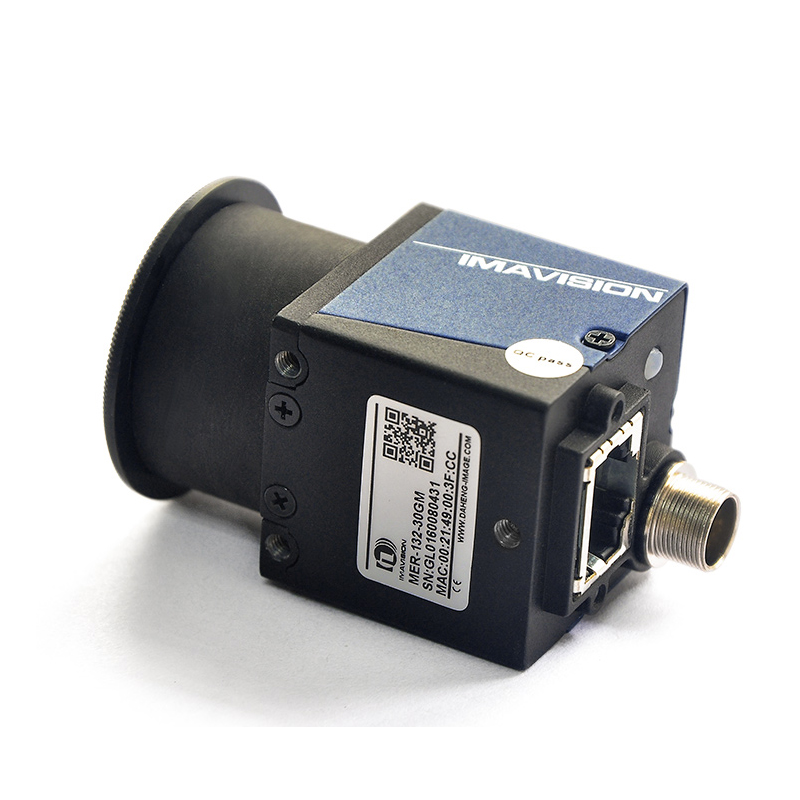
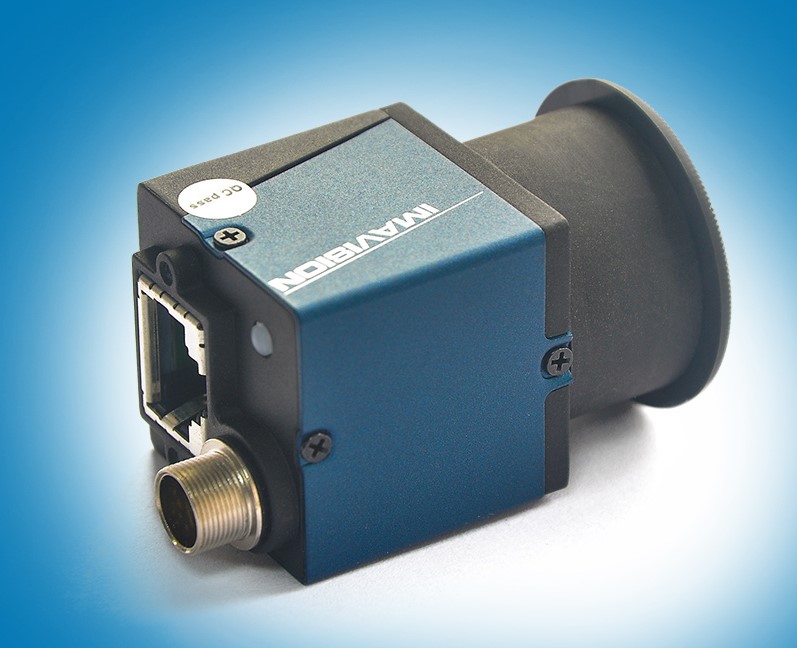
Vision Localization/CCD Series
Visual inspection is widely used in industrial manufacturing product assembly and quality inspection. According to customer needs, the whole package generally includes the following parts:
A. Camera (take picture) selection According to customer needs, choose different models of camera
B. Lens (with camera) select different focal lengths according to product size and object distance
C. Light source (the part that needs to be detected when the light is filled and illuminated)
D. Software (analytical program)
E. Industrial computer (running detection software and input and output)
F. Output part (IO control card, serial port, network port)
Performance characteristics:
- Support for custom AOI, lower resolution to increase frame rate.
- Gain, exposure time and white balance programmable settings.
- Three working modes: continuous acquisition / soft trigger acquisition / external trigger acquisition.
- Support for exposure completion event notification.
- Output flash sync signal for precise synchronization of exposure and fill light.
- Support adjustment of packet length and packet interval, optimize multi-machine simultaneous acquisition and transmission.
- Support for lookup table, parameter group function.
- Provide color correction to improve the color reproduction of captured images.
- Rugged all-metal housing and cable locking device.
- Support single cable transmission up to 100 meters.
- Supports GENICAM and GIGE VISION for direct connection to third-party software such as HALCON and LABVIEW.
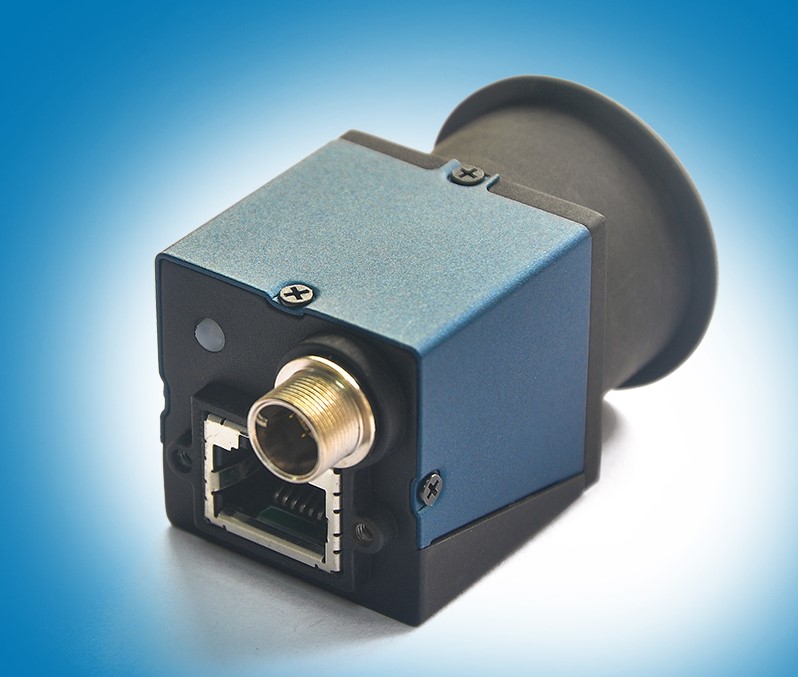
Vision Localization/CCD Series
Vision Localization,Vision CNC Digital Cutting System,Vision CCd,Vision Camera
Shandong U-May CNC Technology Co., Ltd. , https://www.sesamecnc.com